
DIY: Fix Concrete Cracks at Home
The easy way to repair cracks in your driveway, patio, or walkway
4/9/20253 min read


Why Concrete Cracks Happen
Temperature Changes
Expansion and contraction from seasonal temperature variations can cause cracks.
Over time, concrete can develop cracks due to weather changes, moisture, or ground movement. While small cracks are normal, repairing them promptly prevents water damage and further deterioration.
Moisture & Freezing
Ground Movement
Water seeping into concrete then freezing can expand and create cracks.
Settling soil or tree roots can shift concrete slabs, leading to cracks.
What You'll Need
Gather these tools and materials before starting your concrete crack repair project.


Wire Brush
Chisel & Hammer
Vacuum/Broom
Caulking Gun
Trowel/Putty Knife
Water Spray Bottle
Safety Gear
Concrete Filler
Step-by-Step Instructions
Follow these professional steps from A+ Builders to repair concrete cracks like a pro.
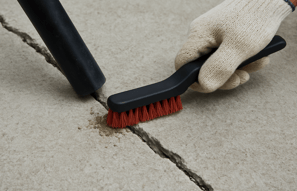
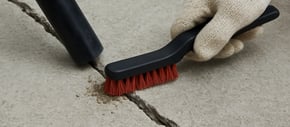
Clean the Crack
1
Use a wire brush to scrub out any loose debris, dirt, or crumbling concrete. Then vacuum or sweep out all the dust to ensure a clean surface for the filler to adhere to.
Pro Tip: For stubborn dirt, use a pressure washer on low setting after brushing.
Note: Skip this step for hairline cracks less than 1/8 inch wide.
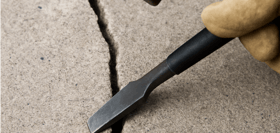
Widen the Crack (If Needed)
2
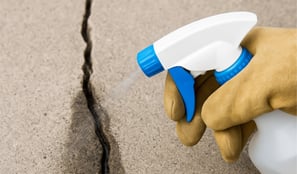
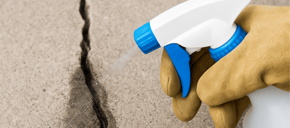
Lightly spray the crack with water using a spray bottle. Concrete absorbs water, and a slightly damp surface helps the filler bond better. Don't over-wet—just enough to darken the concrete.
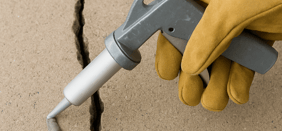
3
For narrow cracks (under ½ inch), use a concrete crack filler with a caulking gun, applying in a steady back-and-forth motion. For wider cracks, use a patching compound and apply it with a trowel or putty knife, pressing firmly to eliminate air pockets.
Pro Tip: Overfill slightly to account for settling as the material dries.
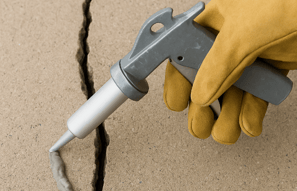
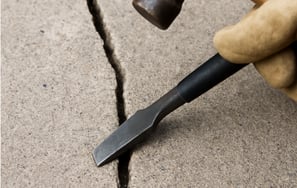
Apply the Filler
4
For better filler adhesion, use a chisel and hammer to slightly widen the crack and create a V-shape. This gives the filler more surface area to bond with. Always wear safety goggles and gloves.
Dampen the Area
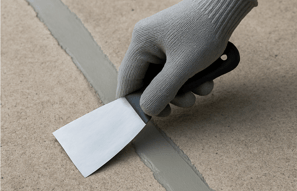
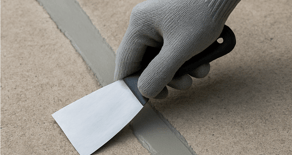
5
Use your trowel or putty knife to level the surface with the surrounding concrete. Work from multiple directions to ensure complete coverage. Don't leave any bumps or ridges that could collect water.
Smooth It Out
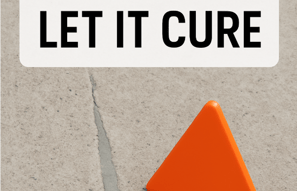

Let It Cure
6
Follow the drying time on the product label (usually 24–48 hours). Keep the area dry while curing—cover with plastic if rain is expected. Avoid walking or driving on the repaired area until fully cured.
Ready to Transform Your Space? Get Your Free Quote Today—Let’s Build Something Strong Together!”
You didn’t come this far to stop
The
Expert concrete solutions for all your needs.
Contact
abuildersinc@hotmail.com
+1 519-890-6268